How to Replace Kitchen Plinth Panels Properly
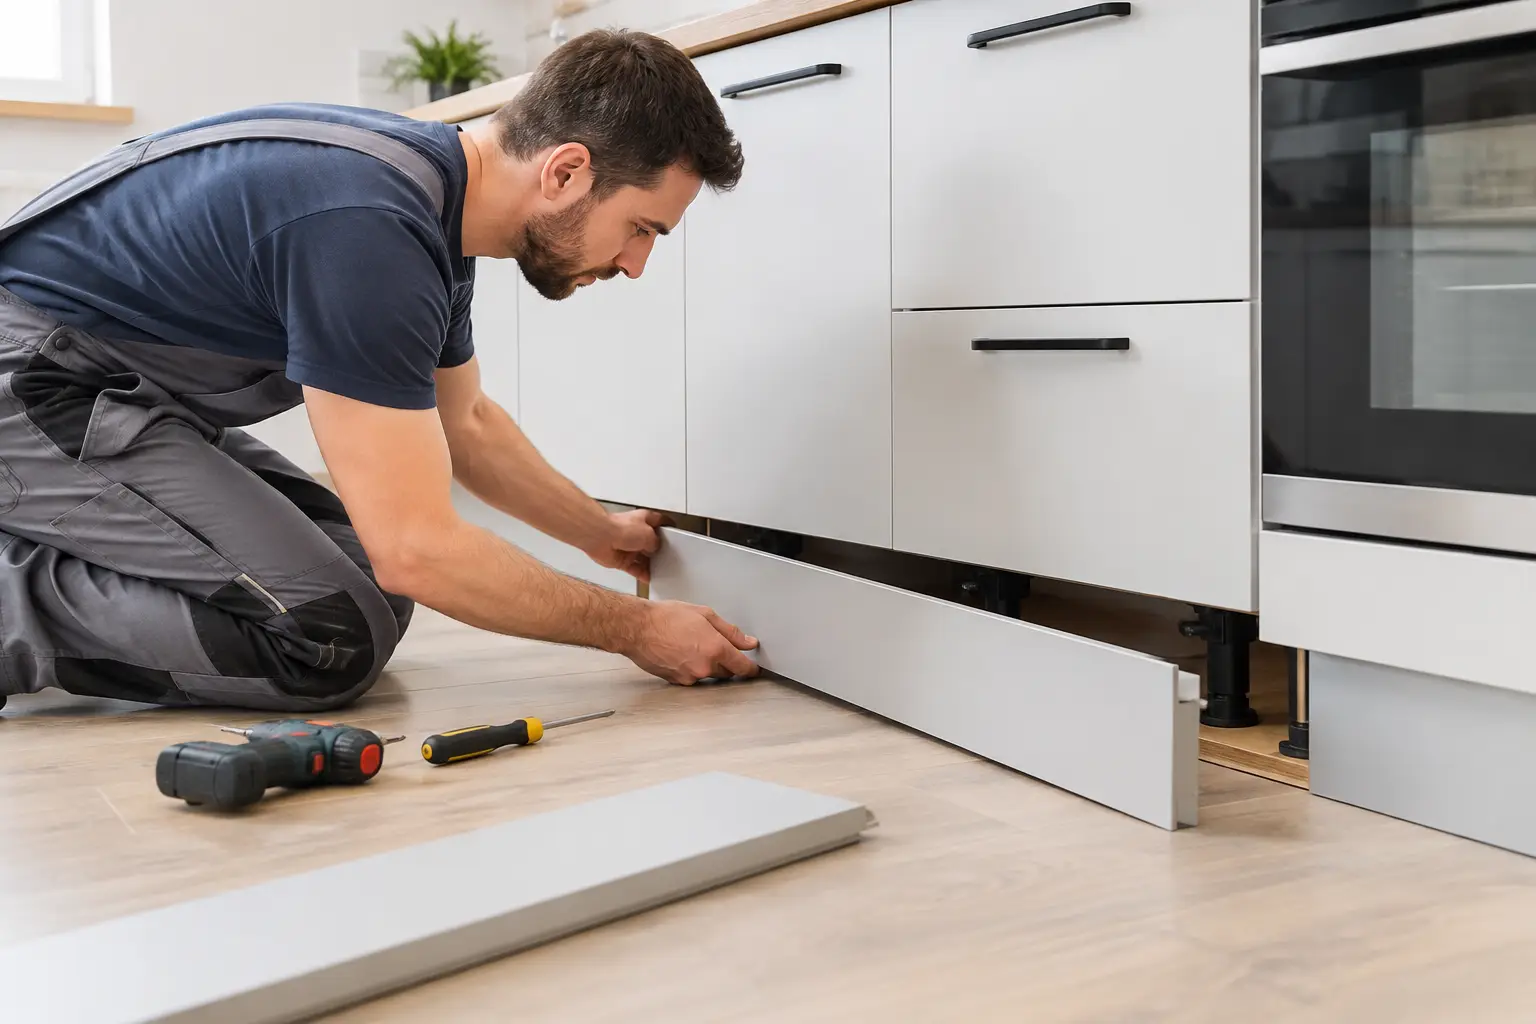
The strip running along the bottom of your kitchen cabinets does more work than it gets credit for. It hides adjustable legs, gives the units a finished appearance and helps stop dust, crumbs and the odd rolling pea disappearing underneath. When it is scuffed, swollen or a different colour from newer doors, it can make an otherwise tidy kitchen look dated. Choosing to replace kitchen plinth panels is a relatively small change, but one that can pull a makeover together.
For many homeowners, it makes sense to replace the plinth at the same time as doors, drawer fronts or handles. If your cabinet layout still works well, there is no need to start again from scratch. A carefully chosen plinth can match new doors, complement a worktop and give the base units a clean, considered finish.
When is it worth replacing kitchen plinth panels?
Plinth panels are often made from faced MDF, so they can suffer if water repeatedly reaches the bottom edge. A leaking dishwasher, overenthusiastic mopping or a spill left unnoticed can cause the board to swell. Once this happens, the finish may lift or chip, and a replacement is usually a better answer than trying to patch it.
Appearance is another common reason. Older plinths may be a warm cream, wood effect or gloss finish that no longer suits the rest of the room. If you are fitting modern shaker doors in a painted-style matt finish, for example, retaining a tired plinth can make the refresh look incomplete. Equally, replacing a dark plinth with a lighter one can make a compact kitchen feel less heavy at floor level.
There are practical reasons too. Plinth clips can break, panels can bow, and cut-outs around pipes or corners may have become untidy after previous work. These are all manageable issues, provided the new panel is measured and fitted with care.
Measure before you order
Kitchen plinth panels are not always a standard height, even where the cabinets themselves are standard sizes. The adjustable legs beneath the units may have been set differently to accommodate an uneven floor, a thick tile finish or a particular worktop height. Measure the visible height in several places rather than relying on one measurement.
Start by measuring from the finished floor to the underside of the cabinet at the front, not to the bottom of the old plinth. Then measure the length of each run of cabinets. It is sensible to draw a simple plan and note where the corners, end panels, appliances and pipework sit. A long run may be covered by more than one panel, so you will also need to decide where any joins will fall.
Allow for a small clearance at the floor. A plinth forced tightly against an uneven floor can look poor and may be difficult to remove later. The exact gap depends on the room and the fitting method, but it should be discreet and consistent rather than obvious.
Before buying, check these points:
- the finished plinth height at several positions
- the depth of the cabinet legs and where the clips are located
- whether the panel must run behind a dishwasher, washing machine or freestanding appliance
- any pipe cut-outs, boxed-in areas or internal corners
- the direction of grain, if you have chosen a wood-effect finish
A made-to-measure option is particularly useful where the floor is uneven, the kitchen has unusual angles, or you want the plinth colour and finish to coordinate closely with replacement doors.
Do you need to remove the old plinth first?
Usually, yes. Most modern kitchen plinths are held to the cabinet legs with plastic clips. Begin at an accessible end and pull the panel gently but firmly forwards. Avoid levering hard against the cabinet doors or using a screwdriver where it could mark the units. If a panel has been sealed to the floor or wall, score the sealant carefully first.
Take the old panel out in one piece where possible. It can be a useful template for cuts around pipes and corners, although you should still check every measurement. Old panels are not always square, especially in older properties where walls and floors have settled over time.
Choosing the right plinth finish
The simplest approach is to match the new plinth to your replacement doors. This gives the base units a continuous appearance and works especially well with shaker, slab and traditional door styles. Matching is not the only choice, though. A contrasting plinth can suit a kitchen with darker worktops or a two-tone design, as long as it looks deliberate rather than accidental.
A dark plinth can ground pale cabinets and disguise everyday marks. It may, however, make a small or low-lit kitchen feel more enclosed. A pale plinth can brighten the room, but it will show scuffs more readily. Wood effects add warmth and can link the kitchen to flooring, although an exact match is rarely necessary and can look overly coordinated.
Finish matters as much as colour. Gloss reflects light and can work well in a contemporary kitchen, but shows fingerprints and splashes. Matt finishes tend to be more forgiving for busy family kitchens. Textured woodgrain surfaces can hide minor marks, while a smooth painted-style finish gives a calmer, more modern look.
Seeing samples alongside your existing worktop, flooring and wall colour makes this decision much easier. At the Replacement Kitchen Doors To Size showroom near St Neots, homeowners can compare door, plinth and worktop samples in natural light and talk through what will work with the units they already have.
Cutting and fitting the new panels
A clean cut is what separates a neat plinth replacement from one that looks improvised. Mark the panel carefully on the reverse side, using a straight edge and pencil. The correct cutting method depends on the material and finish, but a fine-toothed blade and steady support will help reduce chipping. Always check which face needs to be uppermost when cutting so the visible surface remains as clean as possible.
For straight runs, cut the panel slightly long first, then trim gradually for a close fit. It is much easier to remove another millimetre than to correct a panel cut too short. Where two panels meet, place the joint where it is least noticeable, such as near a cabinet division, rather than in the middle of an uninterrupted run.
Pipework needs particular attention. Make a card template first, transfer the shape to the panel and cut conservatively. A neat pipe cut-out is often better finished with a small trim or colour-matched sealant where appropriate, but do not seal a plinth so thoroughly that future access becomes difficult.
Once cut, attach clips to the rear of the panel in line with the cabinet legs. Press the panel into place until the clips grip securely. Check that it sits straight, does not bow and can be removed without excessive force. If the floor slopes, the lower edge may need careful scribing rather than a simple straight cut.
Dishwasher and appliance gaps
Do not assume the plinth can run tightly across every appliance. Dishwashers commonly need ventilation and access to their feet, while washing machines and some fridge-freezers have their own clearance requirements. Follow the appliance manufacturer’s fitting guidance before closing any gap with a decorative panel.
This is one area where a quick conversation before ordering can prevent an awkward alteration later. A panel that looks good but blocks appliance removal is not a practical finish.
Should you fit it yourself or ask for help?
Replacing a short, straight plinth is well within reach for a confident DIYer with the right tools. The work becomes more involved when there are curved units, several corners, uneven floors, integrated appliances or a need to match newly fitted doors precisely. In those cases, professional measuring and fitting can save wasted material and produce a more consistent result.
There is also value in looking at the whole kitchen rather than treating the plinth in isolation. New handles may change the overall style; a replacement worktop may alter the apparent balance of colours; and a worn end panel can stand out once the lower section has been renewed. Refreshing selected parts together often gives a better result than replacing every element.
If your cabinets are sound and the layout still suits how you live, a new plinth is one of those finishing details that proves a kitchen refresh does not have to mean a complete kitchen replacement. Bring a few measurements and photos into the showroom, compare the finishes properly, and choose a solution that makes the kitchen you already have feel cared for again.