How to Install an Integrated Dishwasher Door
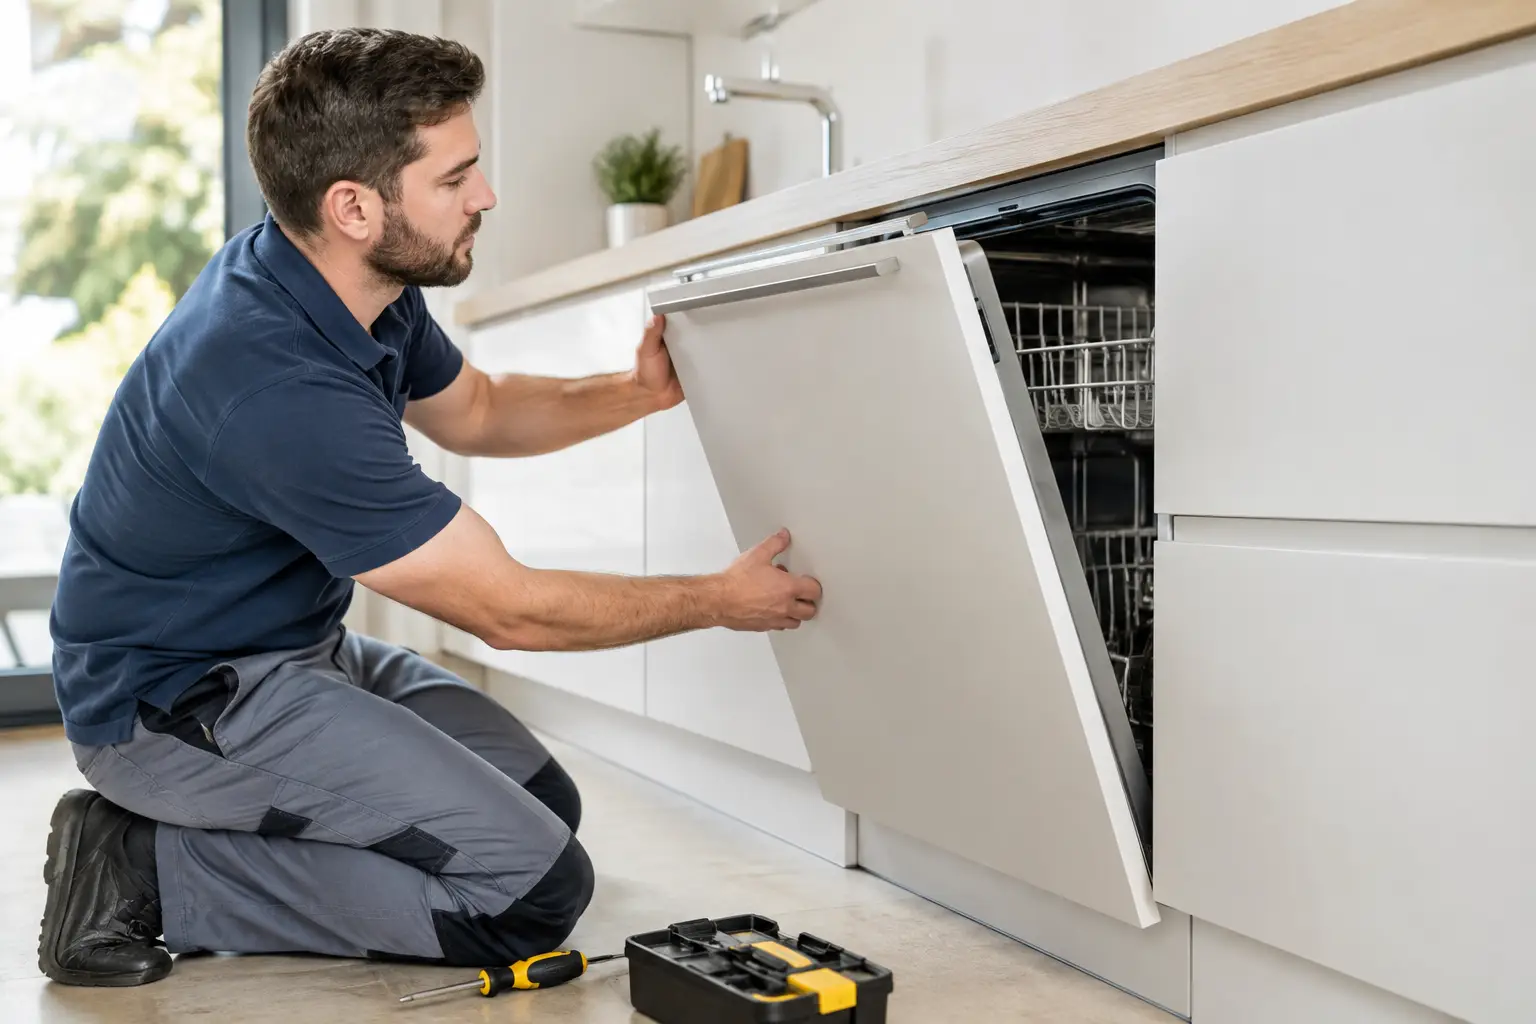
A dishwasher can work perfectly yet still make a kitchen look unfinished if its furniture door sits proud, catches the plinth or does not line up with neighbouring cupboards. Learning how to install an integrated dishwasher door properly is therefore about more than hiding an appliance. It is what gives a refreshed kitchen the neat, fitted appearance that makes the whole room feel considered.
For many homeowners, an integrated dishwasher door is fitted as part of a wider update. If the cabinet layout is still useful, replacing tired doors, drawer fronts, handles and worktops can make a remarkable difference without the cost and disruption of starting again. The dishwasher front needs to be planned alongside those new doors, rather than treated as an afterthought.
Check the appliance before choosing the door
Integrated dishwashers are not all the same. Before ordering a replacement front, identify whether the machine is fully integrated, with controls hidden along the top edge, or semi-integrated, where the controls remain visible. This article deals with fully integrated models, which take a full-height furniture door.
Start with the appliance’s fitting instructions. The manufacturer will specify the acceptable door height, width, thickness and weight, as well as the fixing arrangement. Some models use sliding hinges, while others use a fixed-door system. A sliding system allows the furniture door to move slightly as the dishwasher opens, reducing the risk of it striking the plinth. These details affect both the drilling positions and the type of door that will work safely.
Measure the existing door if there is one, but do not rely on it alone. Measure the opening, adjacent doors and plinth height as well. In a kitchen with made-to-measure replacement doors, the appliance front can usually be matched closely to surrounding cabinets in style, colour and finish. Standard sizes can work well too, provided the measurements and hinge system are suitable.
Prepare the space and the new door
The dishwasher must be level, stable and fixed into position before its furniture door goes on. Adjust the appliance feet until the top is level and the gap around it is even. Secure it as the manufacturer directs, often to the worktop or neighbouring cabinets. If it can move when the door is opened, the final alignment will soon be lost.
Turn off the appliance at the mains before beginning. You will normally need a tape measure, pencil, drill, suitable bits, screwdriver, spirit level and the template or brackets supplied with the dishwasher. Check that the fixings are intended for the thickness of your door. Screws that are too long can break through the front face, while screws that are too short may not hold securely.
Place the door face down on a clean, protected surface. This is particularly worthwhile with painted, gloss or textured finishes, where a rough workbench can leave marks. Confirm which edge is the top before marking anything. It is an easy mistake to make, especially where a plain shaker or slab door looks similar from both ends.
Use the manufacturer’s template, not guesswork
Most integrated dishwashers are supplied with a paper template, drilling guide or fixing bracket. Use the instructions for that exact appliance model. Even a small difference in hole position can leave the door too high, too low or unable to open freely.
Mark the drilling positions carefully, then check them a second time against the guide. Drill pilot holes only to the stated depth. A piece of masking tape wrapped around the drill bit is a simple way to avoid going too deep if you do not have a depth stop.
If the dishwasher came without a template, do not assume another brand’s guide will fit. It is better to obtain the correct instructions or ask for practical advice before drilling a new replacement door. A wrongly drilled door may still be usable, but correcting it neatly can be difficult depending on the finish.
Fit the brackets and hang the door
Attach the fixing brackets, runners or mounting plates to the back of the door in the locations shown by the manufacturer. Keep the screws snug, but avoid overtightening them, particularly in foil-wrapped or painted MDF doors.
With the appliance door open, offer the furniture door up to the dishwasher and engage the brackets according to the fitting method. This stage is easier with a second person, especially for a tall or heavy door. Support the panel evenly rather than allowing its weight to hang on one corner while you locate the fixings.
Once it is attached, close the door slowly and watch the movement. There should be enough clearance above, below and at both sides. On a sliding-hinge appliance, make sure the sliders move smoothly through their full travel. On a fixed-door model, check that the bottom edge does not catch on the plinth or floor as the door opens.
Do not fully tighten every adjustment screw immediately. The first fitting is for checking position. A few minutes spent getting the gaps right is what separates a door that merely fits from one that looks like part of the kitchen.
Adjust for even lines and a smooth opening
Stand back and compare the dishwasher front with the doors either side. The top line should sit neatly with neighbouring units, and the vertical gaps should look even. In many kitchens, a 2-3 mm gap is typical, but the best guide is consistency with the rest of the run.
Most appliances allow a degree of adjustment through elongated holes in the mounting brackets or screws inside the dishwasher door. Make small changes, then close and reopen the door to test them. Raising the panel may improve the top line but reduce the clearance beneath it, so there is always a balance to check.
Pay attention to the handle position too. If you are fitting new handles across the kitchen, the dishwasher handle should line up visually with adjacent doors and drawer fronts. Mark and drill handle holes only after the appliance panel is properly aligned. This prevents a handle that is level on the door but noticeably out of line once fitted.
Check the door springs after fitting
A furniture door adds weight to the dishwasher door. Many models have a spring or tension adjustment to compensate for this. If the door drops heavily when released, or springs upwards too quickly, consult the appliance instructions and adjust the tension evenly on both sides where permitted.
This is a safety and usability issue, not simply a cosmetic one. A door that falls open can be awkward when loading dishes and may put unnecessary strain on hinges over time. If the adjustment is unclear, stop rather than forcing it. Appliance mechanisms vary, and the correct setting depends on the weight of the particular door.
Common problems when fitting an integrated dishwasher door
The most frequent problem is fitting the furniture panel before the appliance has been levelled and secured. The door may look acceptable at first, but gaps change once the machine moves under the worktop. Another common issue is overlooking plinth clearance. A door that opens normally without the plinth fitted can catch as soon as the finishing piece is put back.
A replacement kitchen door can also be heavier or thicker than the original. That does not automatically rule it out, but it makes the manufacturer’s weight limits particularly important. Solid timber, thick painted doors and some handle choices can add significant weight. In those cases, choosing a compatible, lighter construction may be the more practical option.
Finally, avoid drilling based solely on a previous set of holes. The old door may have been adjusted over the years, or it may belong to a different dishwasher model. Start with the current appliance instructions and use the old fitting as a useful reference only.
Make the dishwasher front part of the refresh
An integrated appliance door is one of the details that can make a kitchen update feel complete. Matching it with new cabinet doors creates a continuous run of furniture, while a contrasting handle, worktop or tap can give the room a more individual look without changing a layout that already works for everyday life.
If you are refreshing a kitchen around St Neots, Little Paxton, Huntingdon or Bedford, bring a few measurements and photographs to the Replacement Kitchen Doors To Size showroom. Seeing door samples alongside handles, worktops and finishes makes it much easier to judge what will suit your existing cabinets and whether the dishwasher panel needs a standard or made-to-measure solution.
Take your time with the measuring and final adjustment. A well-fitted dishwasher door should open without a scrape, sit comfortably among the surrounding units and simply look as though it has always belonged there.