A Replacement Door Project Example for Your Kitchen
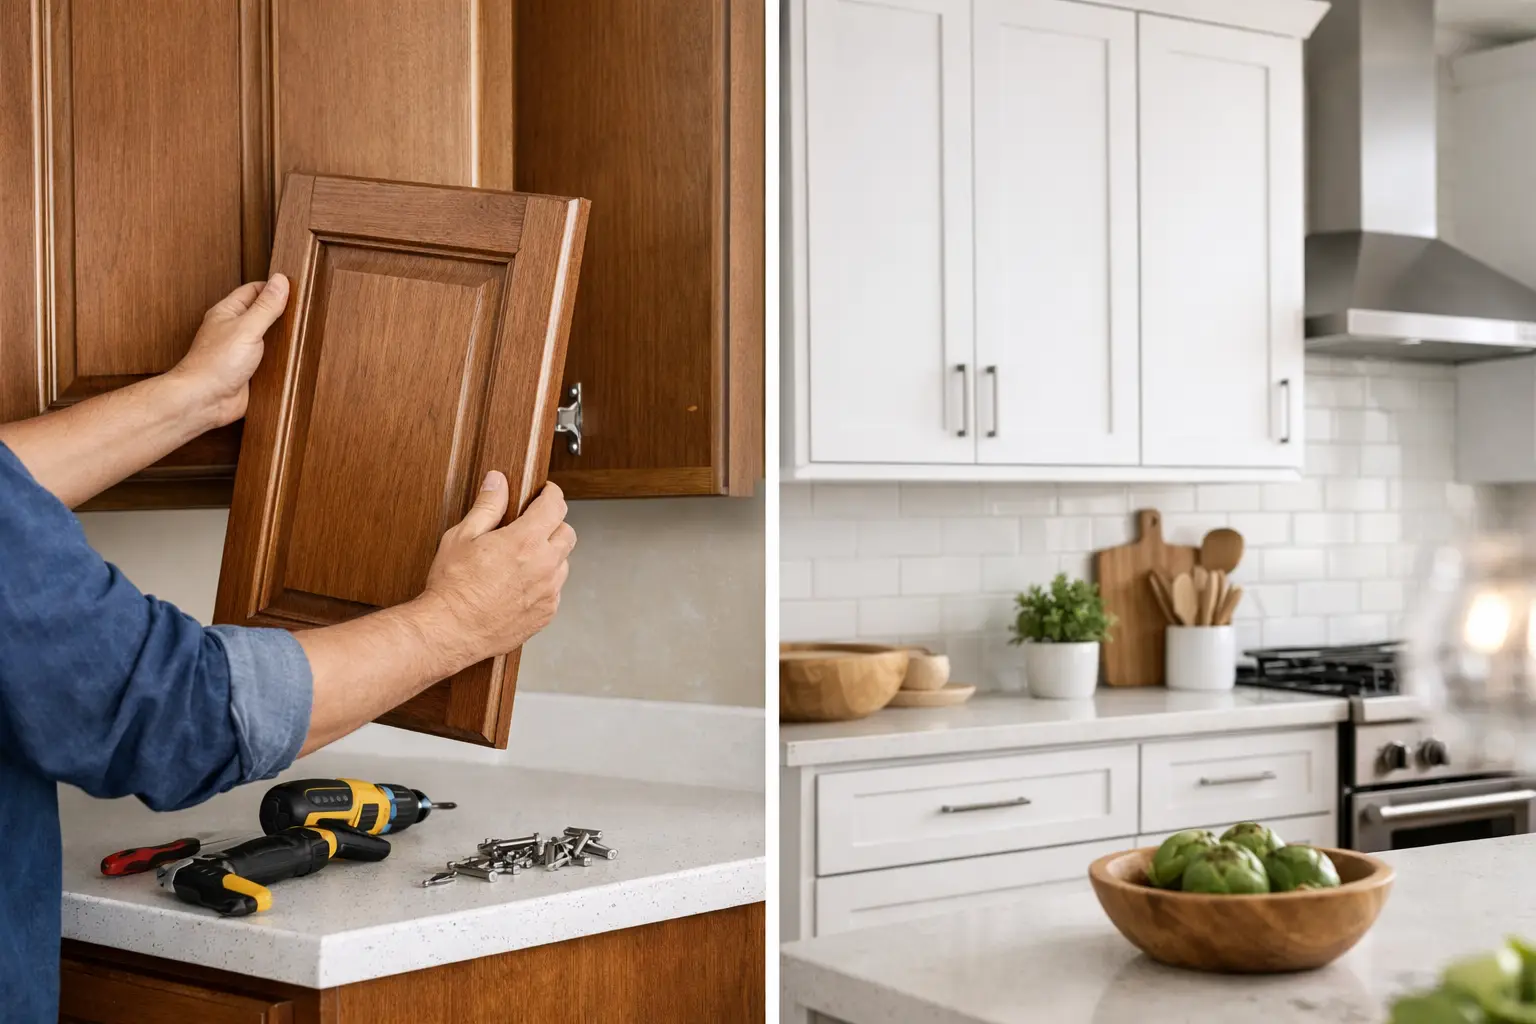
A good replacement door project example starts with a kitchen that still works. The cabinets are sound, the layout suits the household, and there is no need for the disruption or expense of taking everything out. What has changed is how the room feels: tired vinyl-wrapped doors, dated handles, a scratched worktop or colours that no longer suit the rest of the home.
For many homeowners around St Neots, Little Paxton and Huntingdon, replacing the visible parts of the kitchen is a sensible way to make it feel current again. Here is a realistic example of how a kitchen refresh can come together, including the decisions that make the biggest difference.
The starting point: a usable but dated kitchen
Imagine a typical family kitchen fitted around 15 years ago. It has cream shaker-style cabinet doors, laminate worktops with worn edges, small chrome knobs and a stainless-steel sink that has seen better days. The units are still solid and the homeowner is happy with the arrangement: the hob is in the right place, the fridge fits neatly into its housing, and there is enough cupboard space.
A full refit would mean removing sound cabinets, potentially changing flooring and redecorating, and managing a longer period without a working kitchen. In this case, it would not solve a layout problem because there is no layout problem to solve.
The aim of the project is simpler: retain the cabinets, replace the doors and drawer fronts, and update the work surface and finishing details so the kitchen looks deliberate, fresh and easier to live with.
A replacement door project example, step by step
1. Checking the cabinets before choosing doors
The first job is to look beyond the old fronts. Replacement doors can transform a kitchen, but they need a sound base. Cabinet sides, hinges, drawer boxes and plinths should be checked for swelling, damage and loose fittings. Small adjustments are common and are often straightforward, especially where hinges need tightening or doors have dropped over time.
It is also worth checking whether all the existing units are standard sizes. Many kitchens use common door dimensions, while others have non-standard widths or heights, particularly around tall larders, corner units and older fitted kitchens. Made-to-measure doors are useful where standard sizes would leave awkward gaps or compromise the finished look.
This is one reason a showroom conversation is valuable. Taking a few measurements and photographs along can help identify whether standard doors may work or whether a tailored approach is likely to give the better result.
2. Choosing a style that suits the room
For this example, the homeowner wants a calmer, more contemporary kitchen without making it feel stark. A smooth, matt door in a soft sage green is chosen for the base units, paired with a warm off-white for the wall units. This gives the room contrast without making a modest-sized kitchen feel closed in.
A simple shaker door could have worked just as well, particularly in a period property or a home that already has traditional details. Flat slab doors tend to suit a cleaner, more modern look and are often easy to wipe down. Neither option is automatically better. The right choice depends on the amount of natural light, the size of the kitchen, the style of the property and how much detail the homeowner wants on show.
Seeing door samples in person matters here. A colour that appears grey on a screen can look green, blue or much warmer under kitchen lighting. The texture of a matt finish, the edge profile and the feel of the material are all easier to judge in a showroom than from a photograph.
3. Updating drawer fronts, end panels and plinths
Replacing only the main cupboard doors can leave a project looking unfinished. In this example, the drawer fronts are changed to match the new base-unit doors, while the visible end panels and plinth are also updated. These pieces frame the kitchen and help it look like one considered installation rather than a collection of new doors on old cabinets.
The homeowner keeps one existing open shelf unit because it is useful for cookbooks and everyday mugs. It is repainted in the off-white wall-unit shade so it belongs with the new scheme. Retaining a few practical features can keep costs sensible without reducing the overall impact.
4. Selecting a worktop for everyday use
The old dark laminate worktop is replaced with a pale stone-effect laminate. It brightens the room, complements the sage doors and is practical for a busy household. A laminate surface can be a very good choice where budget, easy cleaning and a wide choice of finishes are priorities.
There are trade-offs. A premium compact laminate, solid surface, wood or stone effect may offer a different feel and level of durability, but each has its own maintenance needs, fitting considerations and price point. Wood brings warmth but needs regular care. Darker surfaces can look smart, yet crumbs, water marks and dust may show more readily. A pale surface reflects light, although a heavily patterned design can make a small kitchen feel busy.
For this project, the homeowner chooses a simple finish with a square edge. It gives the kitchen a modern outline and avoids competing with the shaker detail on the doors.
5. Making the smaller changes count
The finishing touches are where the refreshed kitchen begins to feel personal. Brushed brass bar handles are fitted to the new doors and drawers, bringing warmth against the green and off-white scheme. They are not overly decorative, but they are comfortable to use and easy to grasp.
The sink and tap are changed at the same time as the worktop. A composite-style sink in a neutral tone is paired with a practical pull-out spray tap, useful for rinsing vegetables, filling pans and cleaning the sink bowl. Replacing these items together can also avoid the awkwardness of fitting a new sink into an old worktop cut-out later.
Under-cabinet lighting is added to improve the work area, and soft-close hinges are fitted where needed. These details may not be the first things people notice, but they improve the daily experience of using the kitchen. A refresh should not be only about appearance.
What this project keeps and what it changes
The original cabinet carcasses, appliance positions and basic layout remain. That is where much of the value lies. The homeowner avoids paying to replace components that still do their job, while the parts seen and touched every day are renewed.
The doors, drawer fronts, panels, plinths, worktop, sink, tap and handles all change. The result is a kitchen that feels significantly newer, but with less upheaval than a complete replacement. Installation time will vary according to the size of the room, the condition of the existing cabinets and whether worktops, appliances or plumbing are being altered. A straightforward door-only update is different from a project that includes new worktops and several appliance changes.
It is also sensible to be honest about when replacement doors are not the right route. If cabinets are badly water-damaged, the layout causes daily frustration, or storage is fundamentally inadequate, a broader redesign may be more worthwhile. The best approach depends on what is behind the doors as much as what is in front of them.
How to plan your own kitchen refresh
Start by making a short list of what you like and dislike about the kitchen as it is now. Keep the practical points separate from the visual ones. For example, you may like the position of the oven and sink but dislike the worn worktop, poor lighting and dated door colour.
Then consider the scope. New doors and handles alone can make a noticeable difference. Adding worktops, a sink and tap can create a more complete change. If appliances are nearing the end of their life, it may be practical to coordinate those choices at the same time, provided the existing housings and sizes are suitable.
Before committing to a colour, look at samples beside flooring, wall paint and tiles. Take account of how the room looks in the morning and evening. A colour that works beautifully in a large, bright showroom may need balancing differently in a north-facing kitchen.
At Replacement Kitchen Doors To Size near St Neots, homeowners can compare door styles, colours, worktops and handles in person, then talk through what will work with the cabinets they already have. Practical advice at this stage can prevent mismatched finishes and help the project stay focused on the changes that matter most.
A kitchen does not have to be completely removed to feel renewed. If the layout still supports the way you live, replacing the worn, dated and hard-working visible elements can be a thoughtful next step – and seeing the options up close is often where the right plan begins.