How to Replace Drawer Fronts Without New Units
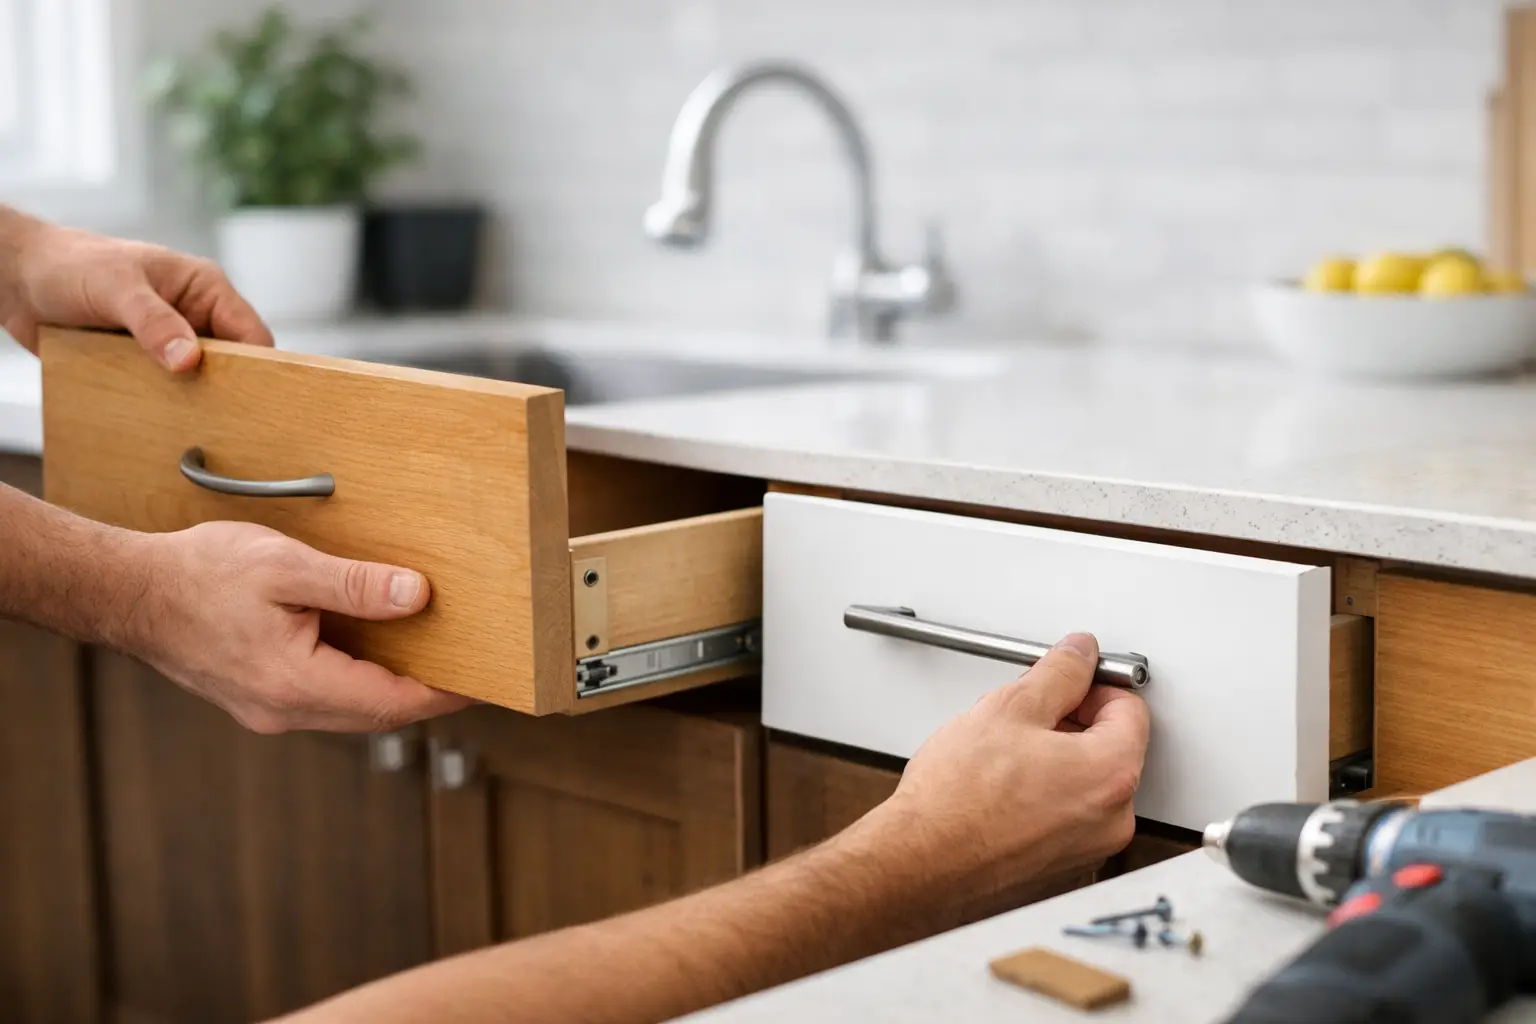
A drawer front that is chipped around the handle, faded by sunlight or simply stuck in a dated style can make the whole kitchen feel older than it is. The useful part is that the drawer box and runners may still be perfectly sound. Learning how to replace drawer fronts can help you give the kitchen a more current look while keeping the units, layout and much of the cost firmly under control.
For many homes around St Neots, this is a sensible middle ground between repainting worn doors and installing a completely new kitchen. It works particularly well where you still like where everything is: the sink is in the right place, storage is adequate and the worktop is serviceable, but the visible surfaces need attention.
First, check whether replacement drawer fronts are suitable
Before choosing a colour or measuring anything, inspect the drawer itself. Pull it fully out and check that it runs smoothly, sits level and closes properly. Look at the drawer box for swelling, loose joints or damaged bases, especially below the sink or near a dishwasher where moisture can cause problems.
If the drawer box is solid and the runners work well, replacing the front is usually straightforward. A stiff runner can often be adjusted or replaced separately. However, if the cabinet sides are badly damaged, the drawers are sagging, or several units have suffered water damage, replacement fronts alone may not deliver the result you want.
It also helps to establish what type of drawer you have. Traditional drawers often have a separate front fixed with screws from inside the drawer box. Modern metal-sided drawer systems may use clips, brackets or adjustment fittings. The principles are similar, but the fixing method affects how you measure and fit the new front.
Measure each drawer front carefully
Accurate measuring is the difference between a neat kitchen refresh and an awkward row of uneven gaps. Do not assume all fronts are identical, even if they look it. Older kitchens in particular can have small variations between drawers.
Measure the existing front, not the drawer box. Record the height and width in millimetres, then measure the thickness. Take measurements at more than one point if the old front has warped. You should also note the gap between each drawer front and the doors or panels around it. This is often around 2mm, but it varies by kitchen and fitting style.
For a drawer front with a handle, measure the handle hole centres too. This is the distance from the centre of one fixing hole to the centre of the other. Reusing the existing handle positions may make fitting simpler, although new handles can be a worthwhile finishing touch if the old ones date the kitchen.
Take photographs before removing anything. A photo of the drawer front from the inside, showing the screw positions, brackets and runners, can save a great deal of guesswork later. Label your measurements clearly by drawer location, such as ‘left of oven, top drawer’. It sounds basic, but it prevents mix-ups when several fronts are close in size.
Standard sizes or made-to-measure?
A standard-size drawer front can be a good value option where your measurements match a common size and the cabinets are square. Made-to-measure fronts are often the better choice for older kitchens, unusual unit sizes or when you want a particularly precise fit.
It depends on the kitchen. Choosing a near-enough standard size may initially seem cheaper, but it can leave inconsistent gaps that are noticeable every time you walk into the room. A properly sized front is usually worth considering where the kitchen is otherwise in good order and you want the finished result to look intentional.
Choose a style that suits the rest of the kitchen
Replacing drawer fronts gives you the opportunity to make a modest change or create a much bigger visual shift. If you are keeping the existing doors, choose a close match in style, colour and sheen. Bear in mind that older door finishes may have changed over time, so an exact match is not always possible.
If you are replacing all the doors and drawer fronts together, the choice is much wider. Shaker-style fronts bring detail without feeling overly formal, while flat slab fronts can make a smaller kitchen appear calmer and more contemporary. Matte finishes are forgiving of fingerprints, whereas gloss reflects light well but may show marks more readily in a busy family kitchen.
Colour deserves a practical decision rather than a quick one. Pale tones can brighten a darker room, while deeper greens, blues and greys can add character when there is good natural light. Take worktop colour, splashbacks, flooring and wall paint into account. A sample viewed under showroom lighting can look different at home, so it is worth comparing samples in your own kitchen light before committing.
Remove the old drawer front without damaging the drawer
Empty the drawer and place a towel or blanket on the floor to protect both the front and the flooring. Open the drawer fully and look inside for the fixing screws. In many cases, two screws pass through the drawer box into the back of the front. Remove these while supporting the front with one hand.
With metal drawer systems, look for release clips or screws near the front corners. Some fittings can be unclipped, while others need a small adjustment screw loosened first. Avoid forcing any part of the mechanism. If the front does not come away easily, check again for concealed fixings or consult the drawer hardware instructions.
Keep any screws, clips and brackets together in a labelled bag, even if you expect to use new hardware. The originals are useful for checking screw length and fitting positions. Screws that are too long can pierce the front face, while short screws may not hold securely.
Fit the new drawer front and set the gaps
The best way to fit a replacement front is to start with the top drawer and work down. This makes it easier to set even gaps as you go. Position the new front against the drawer box, using spacers, folded card or 2mm packers to create an even reveal around the edges.
Mark the fixing positions from inside the drawer, then drill small pilot holes in the back of the new front. Pilot holes reduce the chance of splitting and make it easier to drive the screws accurately. Do not drill through the front. Measure the screw length against the thickness of the drawer front first, and use a depth stop or tape around the drill bit if needed.
Fit the screws loosely at first. Close the drawer and examine the gaps from directly in front and from each side. Adjust the front until it is level and evenly spaced, then tighten the screws. Many modern drawer systems have small adjustment screws that move the front up, down, left or right by a few millimetres. Use these for fine tuning rather than trying to force the front into position.
Once each drawer is aligned, fit the handles. Mark hole positions carefully from the front using a template or a combination square. Drilling from the finished face can reduce chipping, particularly on foil-wrapped or painted fronts. If you are uncertain, practising on an offcut is a sensible precaution.
Do not overlook the surrounding finishing touches
New drawer fronts can make tired doors, handles or worktops stand out more than before. That does not mean you must replace everything at once, but it is worth looking at the kitchen as a whole. Matching doors and drawer fronts give the most cohesive result. New handles, a replacement sink and tap, or updated end panels can make a practical kitchen feel properly renewed without changing its basic footprint.
Worktops are a separate consideration. If your existing one is structurally sound and you like it, keeping it can keep the project focused and economical. If it is swollen around the sink, badly scratched or an awkward colour beside the new fronts, replacing it at the same time may avoid having to disturb freshly fitted doors later.
See the options before deciding
Photos are useful for inspiration, but they cannot show how a finish feels, how a colour changes in different light or whether a handle is comfortable to use every day. Visiting a showroom allows you to place door samples beside worktop finishes and compare the details that make a kitchen feel right for your home.
At Replacement Kitchen Doors To Size in Little Paxton, homeowners can bring measurements and photographs of their existing kitchen to talk through standard and made-to-measure options. It is a practical way to check what can be refreshed, what is worth retaining and where a small change can make the biggest difference.
A carefully fitted drawer front should not draw attention to itself. It should sit straight, open easily and make the kitchen feel as though it has always belonged there – only fresher, cleaner and more suited to the way you live now.